ICONS Management
Ths. Heftyes gt.
45
0267 Oslo
Norway
+47 90179215
+47 22551071
Dreamweaver site
Dreamweaver recommends setting up a ”Site” as your first step in order to be able to access all features of the programme. You need to dedicate a folder on your computer to your site, a so called "Root folder", holding all files and folders that make up your site. You also need to give your site a "Name". This is a virtual name, it will not be part of the URL (net address) to your site. You need the name for publishing purposes.
It is a good idea to think through your naming conventions (labeling) and files structure. This is good Information Architecture thinking!
- Site > New Site
- Click the Advanced tab
- Click Local Info under Category
- Give your site a name i Site name
- Locate or make a folder under Local root folder
Why not have the same name for the site and the folder? You can make several sites but they must have their own names and root folders.
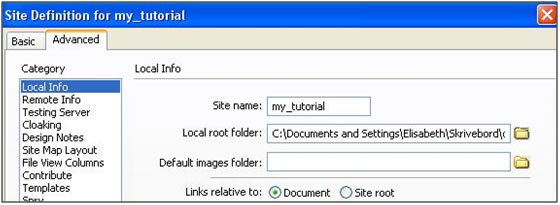
Local Info this is where you work locally on your computer. You can define Remote Info, where to publish to (your web hotel) now or later.
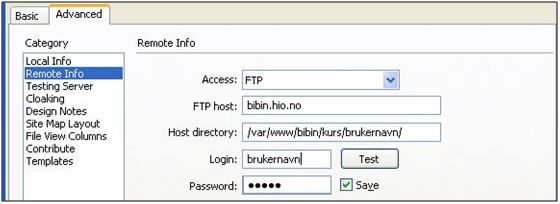
View your pages in the browser: http://bibin.hio.no/mok/username/
Layout
Basically you have two systems for laying out pages, dividing pages into logical areas: html tables or CSS. Using CSS is the modern and more acceptable method.
CSS
- CSS positioning with div tags
- Draw AP Div (absolute positioning)
Tracing Image: Draw AP Divs over an image (absolute positioning)
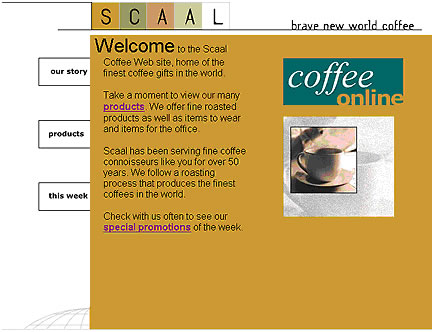
Have a look at the image of a page for the Scaal Gourmet Coffee firm. We will make this layout with div tags (1.), omitting the images to the right for now. We need three areas: logo, menu and content.
- File > New > Blank page > HTML > none > create
- Save as scaal_css.html
- Write Scaal Gourmet Coffee in the title text box above the document
- File > New > Blank page > CSS > create
- Save as scaal_css.css
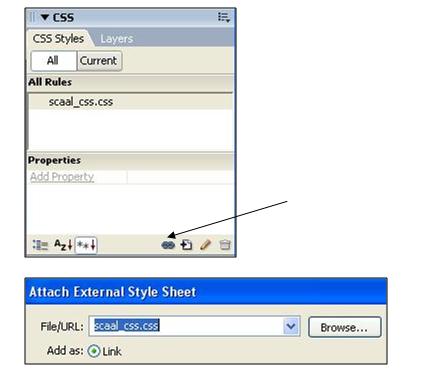
Make sure the html file is the active file in the document window, and then link the css file to the html file:
- Click the link icon at the bottom of the css panel
- Browse to the css file, scaal_css.css in this case
- Link should be chosen > click OK
- Choose Split View to see both Code and Design Views
- View > Rulers > Show (set to pixels) to see the width of your page
- Place the cursor between the body tag in the code
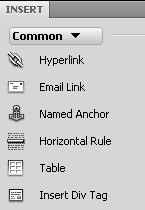
- Common tab to the front in the Insert panel and insert div tag by clicking the icon
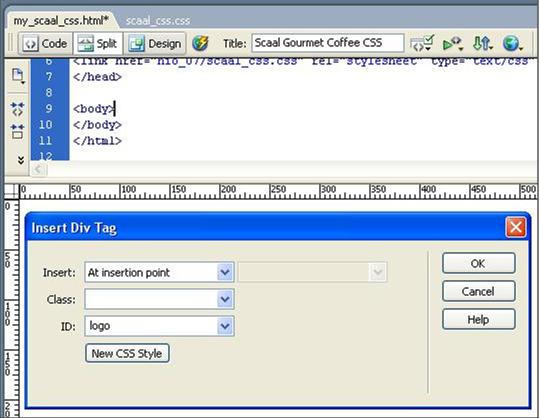
- Insert div tags with ids for menu and content. Place the cursor just after the previous div, on the same line as the last </div>
- In Design View insert logo_scaal.gif in the div with id "logo". You can drag and drop from the files panel. Delete the helper text in the div
- Switch on the background colours for the divs by clicking the eye icon on the document menu, choose css layout backgrounds. You get a number of random colours. Useful feature when you have several divs and want to see where they are

Fill the page with images and text, in other words, finish the html work before positioning and formatting with css. Use the following files for <div id="menu">
btn_ourstory_up.gif
btn_products_up.gif
btn_thisweek_up.gif
and DW_copy.txt for <div id="content">. Make some paragraphs in the text by hitting the Enter key. Maybe copy some of the text again to make a fuller page. Your file should look something like this:
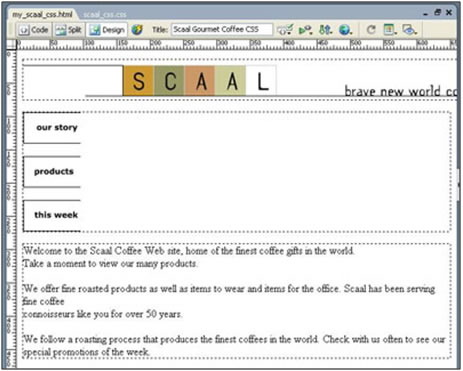
Save both files: File > Save All. This saves all open files, useful when working with both a html file and a css file.
CSS positioning
We can insert the necessary css code by manually entering code in the css file or by using the css panel from our html document. We shall use the css panel and from time to time look at the css code generated.
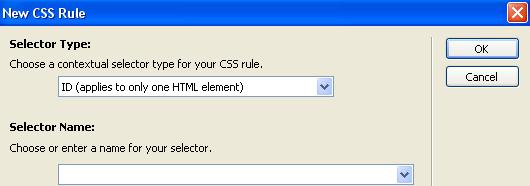
- Click the + (plus icon) at the bottom of the css panel
- You get the choice of class, tag, id or compound, choose id and write
#menu for selector name - Make sure you see the name of your css file at the bottom of the dialog box. You could choose This Document Only for an embedded (internal) style sheet
- Click OK and the dialog box appears where you can set all your css rules

We want the menu-div to float to the left and have a certain width. Floats must always have a width!
The content-div will float up to the right of our menu. We must give the content-div a left margin pushing it away from the menu, the width of the float or more:
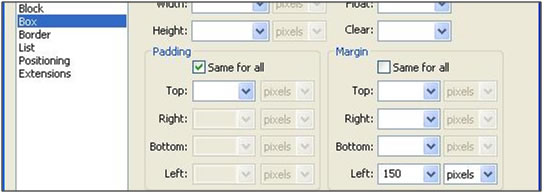
This is the basics of css positioning! Floats must have a float and a width, what comes up alongside must have a margin (and not a float or width).
We have made the layout for our page and can now just put the finishing touches on the formatting. Here are some suggestions:
- body:
Click + for new rule > choose Tag > arrow down for body > OK.
Type: colour black, #000000, font-family: Arial and font-size: 90%
Background: white, #FFFFFF
Box: Width 700px, Margin click to remove Same for All and set right and left margins to Auto for a centred design. OK - #menu:
Mark #menu in the css panel, click the pencil (edit icon) at he bottom of the css panel in order to edit the #menu selector
Block: Text align right - #content:
Click the pencil or double-click #content in the rules list in the css panel
Background: click in the colour icon and use the eye dropper to pick the brown colour from the Scaal logo image.
Box: set padding to for example 10px to get some space between the text and the edges of the content-div. - File > Save all. Preview in browser, F12
Exercise: positioning 1